Painting Trim And Crown Molding: A Beginner's Guide
Painting trim and molding may seem intimidating, but it's a skill that anyone can learn. With a few simple steps, you can transform your home's appearance with a fresh coat of paint. In this guide, we'll show you how to paint trim like a pro. We'll also provide tips for avoiding common mistakes. So whether you're just starting out or you're looking for some new ideas, read on for the best tips and tricks for painting trim and molding.
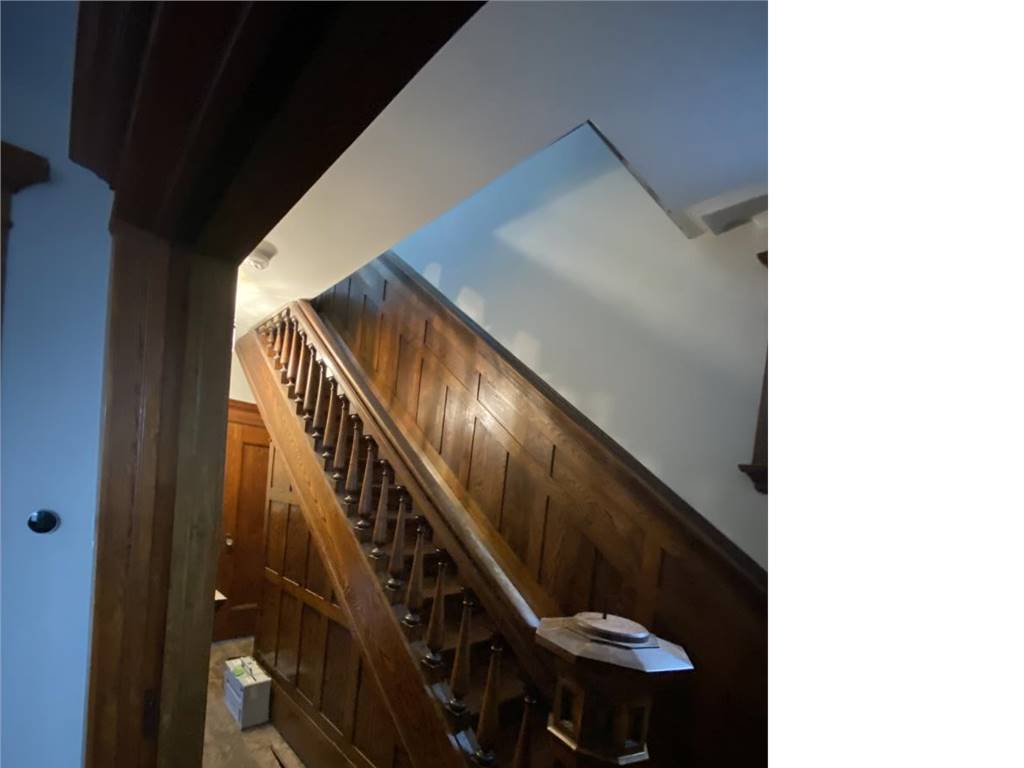
What Is a Trim and What Is a Crown Molding?
A trim is a decorative molding used to cover the joint between two surfaces and to hide any irregularities. Trims are usually made from wood, metal, or plastic, and they come in a variety of shapes and sizes.
In construction, a trim is typically installed around doorways, windows, and other openings to give them a finished appearance. Trims can also be used to highlight the edges of ceilings and floors, or to add architectural detail to a room.
Crown molding is a type of molding that is typically used to trim the edge of a ceiling or to decorate the top of a wall. It is usually made from plaster, wood, or plastic and can be either painted or stained to match the surrounding décor.
Crown molding comes in a variety of shapes and sizes, and can be used to create intricate designs or simple accents. It is often installed in pairs or groups, and can be used alone or in conjunction with other types of molding.
Tips on Painting Trim and Crown Molding:
There are a few things to keep in mind when painting trim and crown molding:
1. Start with a clean surface.
Cleaning the surface before painting trim and crown molding helps to ensure a smooth and even paint job. Any dirt, dust, or grime on the surface can create uneven texture and brush strokes in the paint. By taking the time to clean beforehand, you'll save yourself a lot of headaches (and touch-ups) down the road.
2. Use a Painter's Tape.
Painter's tape can help with painting trim and crown molding in a few different ways. First, it can help to create clean lines by serving as a barrier between the paint and the surface. Second, it can help to protect surfaces from accidental paint drips or smudges. Finally, it can also save time by helping to prevent the need for touch-ups later on.
3. Choose the Right Brush for the Job.
When painting trim and crown molding, using the right brush is essential for getting good results. A brush with stiffer bristles will give you more control so that you can make precise strokes, while a brush with softer bristles will help you to spread the paint more smoothly.
Select a brush that is the right size for the job. A small brush is ideal for painting trim, while a larger brush is better for painting crown molding. Make sure to clean your brushes thoroughly after each use so that they will last longer.
4. Choose the Right Paint.
Choosing the right kind of paint for trim and molding can help ensure a professional-looking finish. Paint selection is important because it can impact how well the paint adheres to the surface, how easy it is to work with, and the final appearance. For best results, consult with a professional painter or home improvement expert before starting your project.
5. Take Your Time and Be Patient.
It can be difficult to get into all the nooks and crannies when painting trim and crown molding. If you're impatient, you're more likely to make mistakes or miss spots.
But if you take your time and are patient, you'll have an easier time painting evenly and getting into all the tight spaces. And that will result in a much neater finished product.


